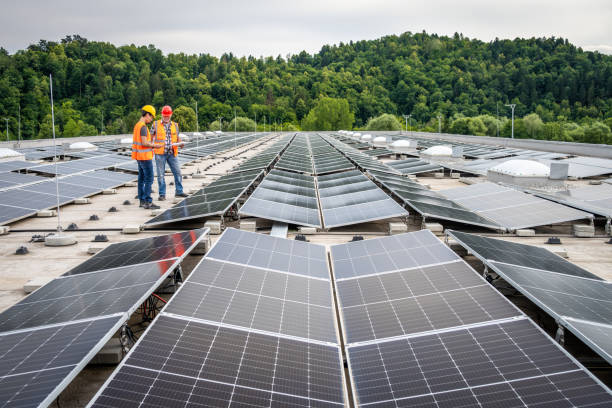
Flexible solar panels are becoming increasingly popular due to their lightweight, versatile design and ease of installation. Whether you’re outfitting an RV, a boat, or your home, knowing how to securely fix flexible solar panels on a roof is essential. In this guide, we’ll walk you through the steps to ensure a safe and effective installation.
Why Choose Flexible Solar Panels?
Before diving into the installation process, let’s quickly discuss why flexible solar panels are an excellent choice:
- Lightweight and Portable: Perfect for curved or uneven surfaces.
- Durable Design: Resistant to impacts and ideal for mobile installations.
- Ease of Installation: Unlike traditional rigid panels, flexible panels don’t require a heavy mounting frame.
- Cost-Effective: Often cheaper to ship and install due to their lightweight nature.
Tools and Materials You’ll Need
To get started, gather the following items:
- Flexible solar panels
- Adhesive or mounting tape (UV-resistant and weatherproof)
- Drill and screws (if using brackets)
- Cleaning supplies (soap, water, and a soft cloth)
- Junction box or cable management kit
- Multimeter for electrical testing
Step-by-Step Guide to Fixing Flexible Solar Panels on a Roof
1. Prepare the Surface
The first step is to clean the roof surface thoroughly. Dirt, dust, and grease can reduce the adhesive strength and overall performance of your solar panels. Use soap and water to clean the area, and allow it to dry completely.
2. Plan the Layout
Determine the best placement for your panels. Consider factors like:
- Sunlight Exposure: Ensure maximum sun exposure by orienting the panels southward (in the Northern Hemisphere) or northward (in the Southern Hemisphere).
- Cable Management: Plan the route for connecting wires to the charge controller and battery.
Mark the positions lightly with a pencil or tape to avoid errors during installation.
3. Attach the Panels Using Adhesive
Flexible solar panels are typically fixed using adhesives or double-sided mounting tape. Here’s how to do it:
- Apply a generous amount of adhesive to the back of the panel.
- Press the panel firmly onto the roof, starting from one edge and working your way across to eliminate air bubbles.
- Use weights or clamps to hold the panel in place while the adhesive cures (refer to the adhesive manufacturer’s curing time).
4. Screw Down the Panels (Optional)
If you’re installing on a vehicle or need extra security, you can use screws and mounting brackets:
- Drill small pilot holes through the pre-drilled holes on the panel.
- Secure the panel with screws, ensuring not to overtighten and damage it.
- Seal the holes with weatherproof silicone to prevent leaks.
5. Connect the Wiring
Once the panels are fixed, it’s time to connect them to your system:
- Use the cables provided with the panels to connect them to a junction box or charge controller.
- Ensure all connections are secure and waterproof.
- Test the system with a multimeter to confirm proper voltage and current.
6. Check and Maintain
After installation, inspect your panels regularly to ensure they are firmly attached and functioning optimally. Clean the surface periodically to remove dirt and debris that could block sunlight.
Common Mistakes to Avoid
- Skipping Surface Preparation: Adhesives won’t stick well to dirty or wet surfaces.
- Using Non-Weatherproof Materials: Ensure all adhesives, tapes, and cables are UV and weather-resistant.
- Poor Cable Management: Exposed wires can lead to damage and reduced efficiency.
Conclusion
Fixing flexible solar panels on a roof is a straightforward process that can be accomplished with basic tools and materials. By following this guide, you’ll ensure a secure installation that maximizes your solar energy output. Flexible solar panels offer a cost-effective, versatile solution for harnessing solar power, making them a great addition to your renewable energy setup.